-
Large Screen - SlidingPaneLayout카테고리 없음 2021. 9. 7. 20:12반응형
SlidingPaneLayout
- 태블릿, 폴더블폰에서는 창(Pane) 두개를 나란히 표시.
- 소형 휴대전화에서는 창을 한번에 한 개만 표시하도록 자동 조정 가능.
- The SlidingPaneLayout component supports showing two panes side by side on larger devices and foldables.
- While automatically adapting to show only one pane at a time on smaller devices such as phones.
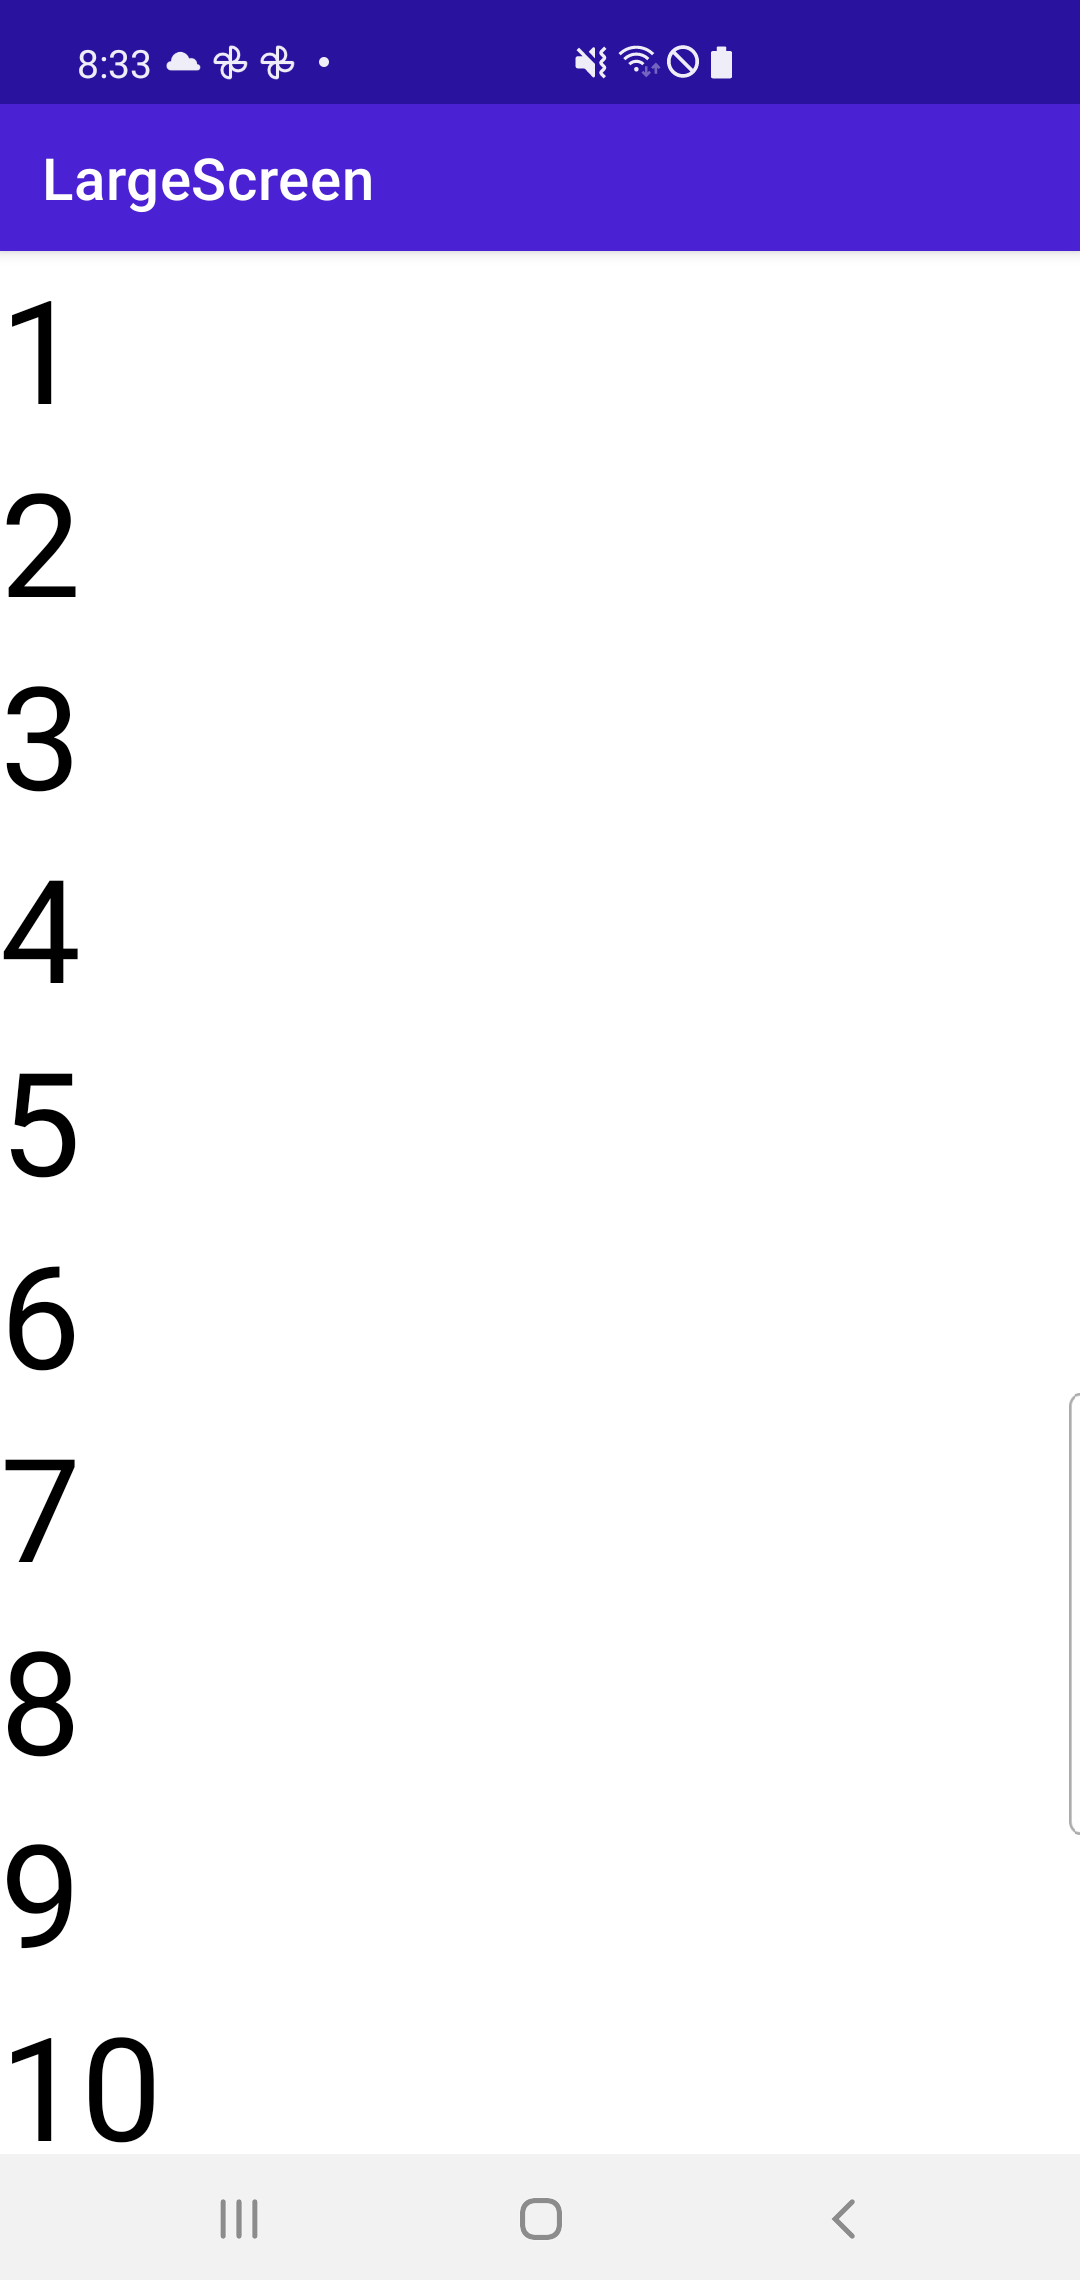
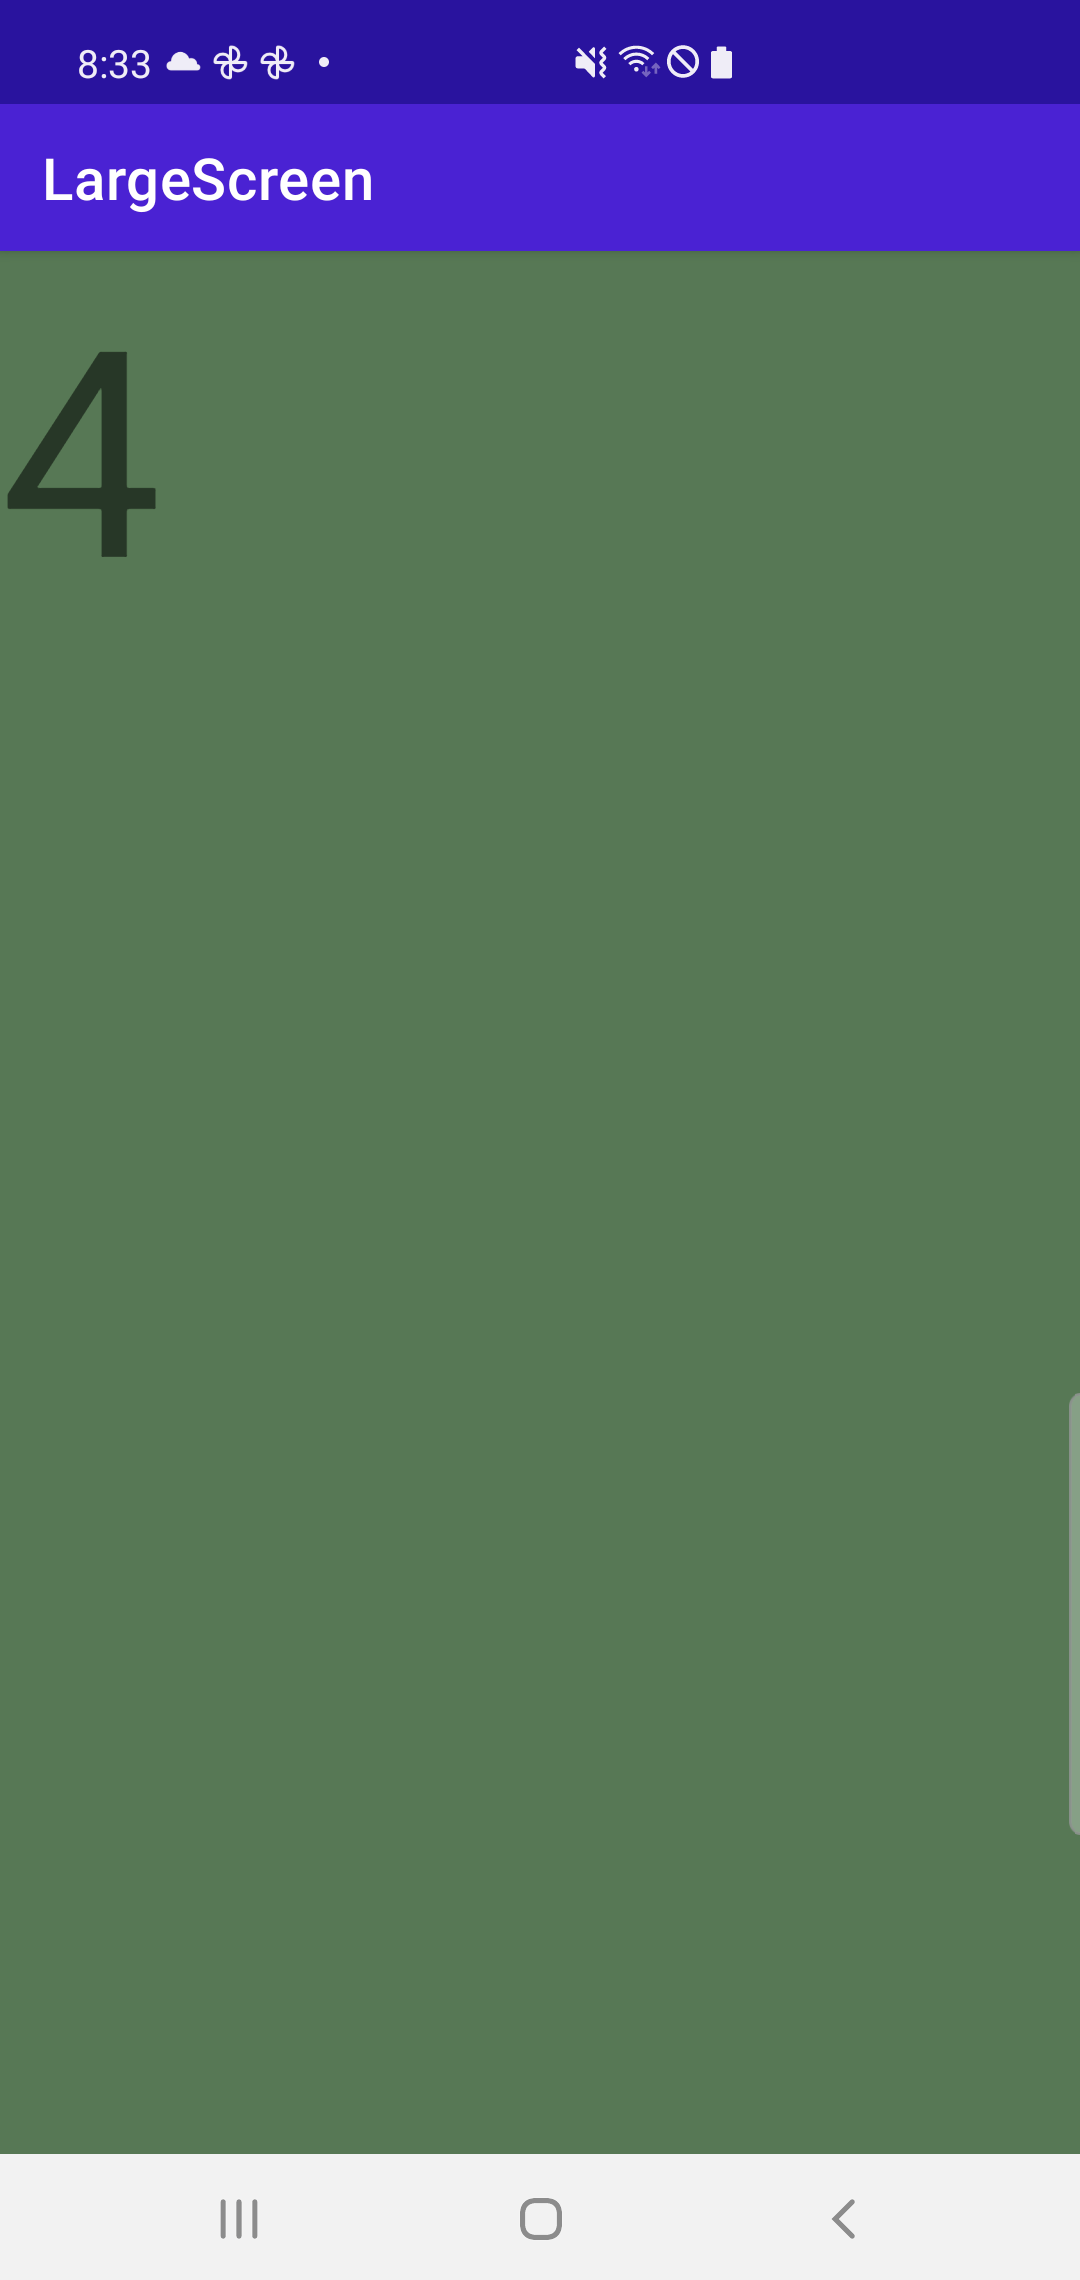
라지 스크린에서는 목록과 세부정보창이 함께 뜨지만 일반 단말에서는 한 창에 목록과 세부정보 창이 같이 뜬다.
Large Screen Smaller devices 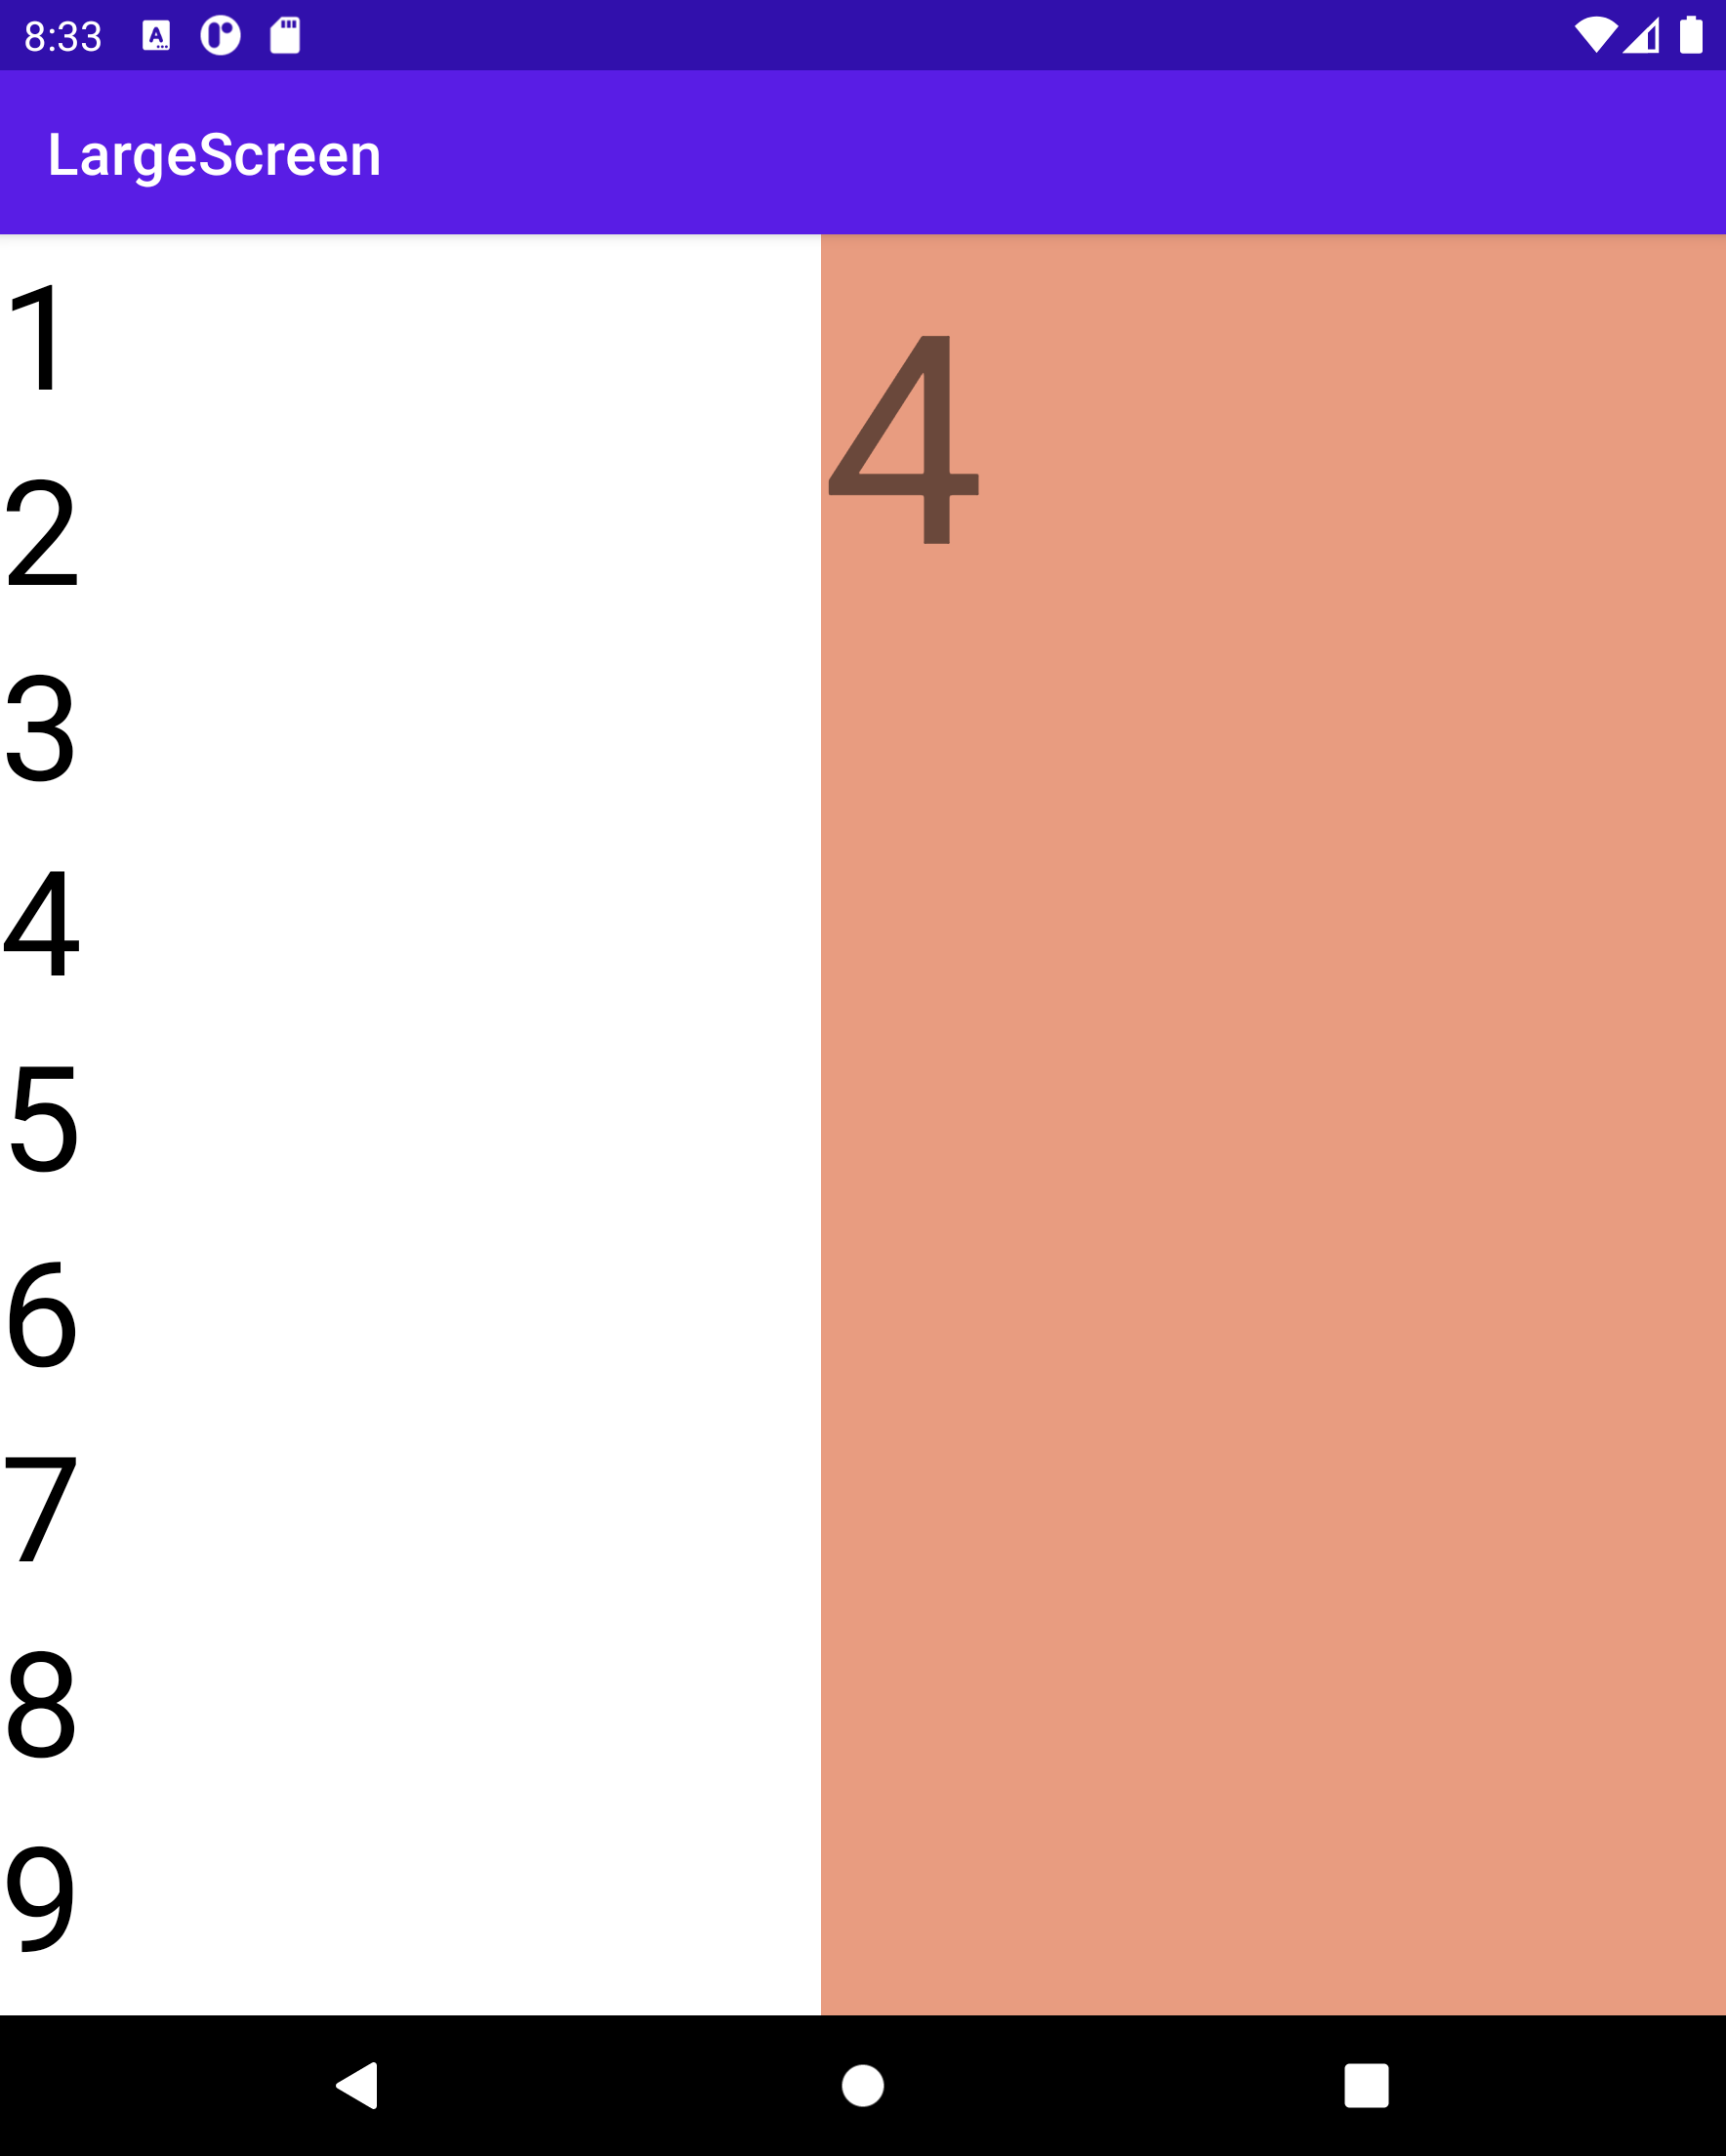
Fold와 Tablet과 Galaxy S10을 비교하면,
Fold Tablet Galaxy S10 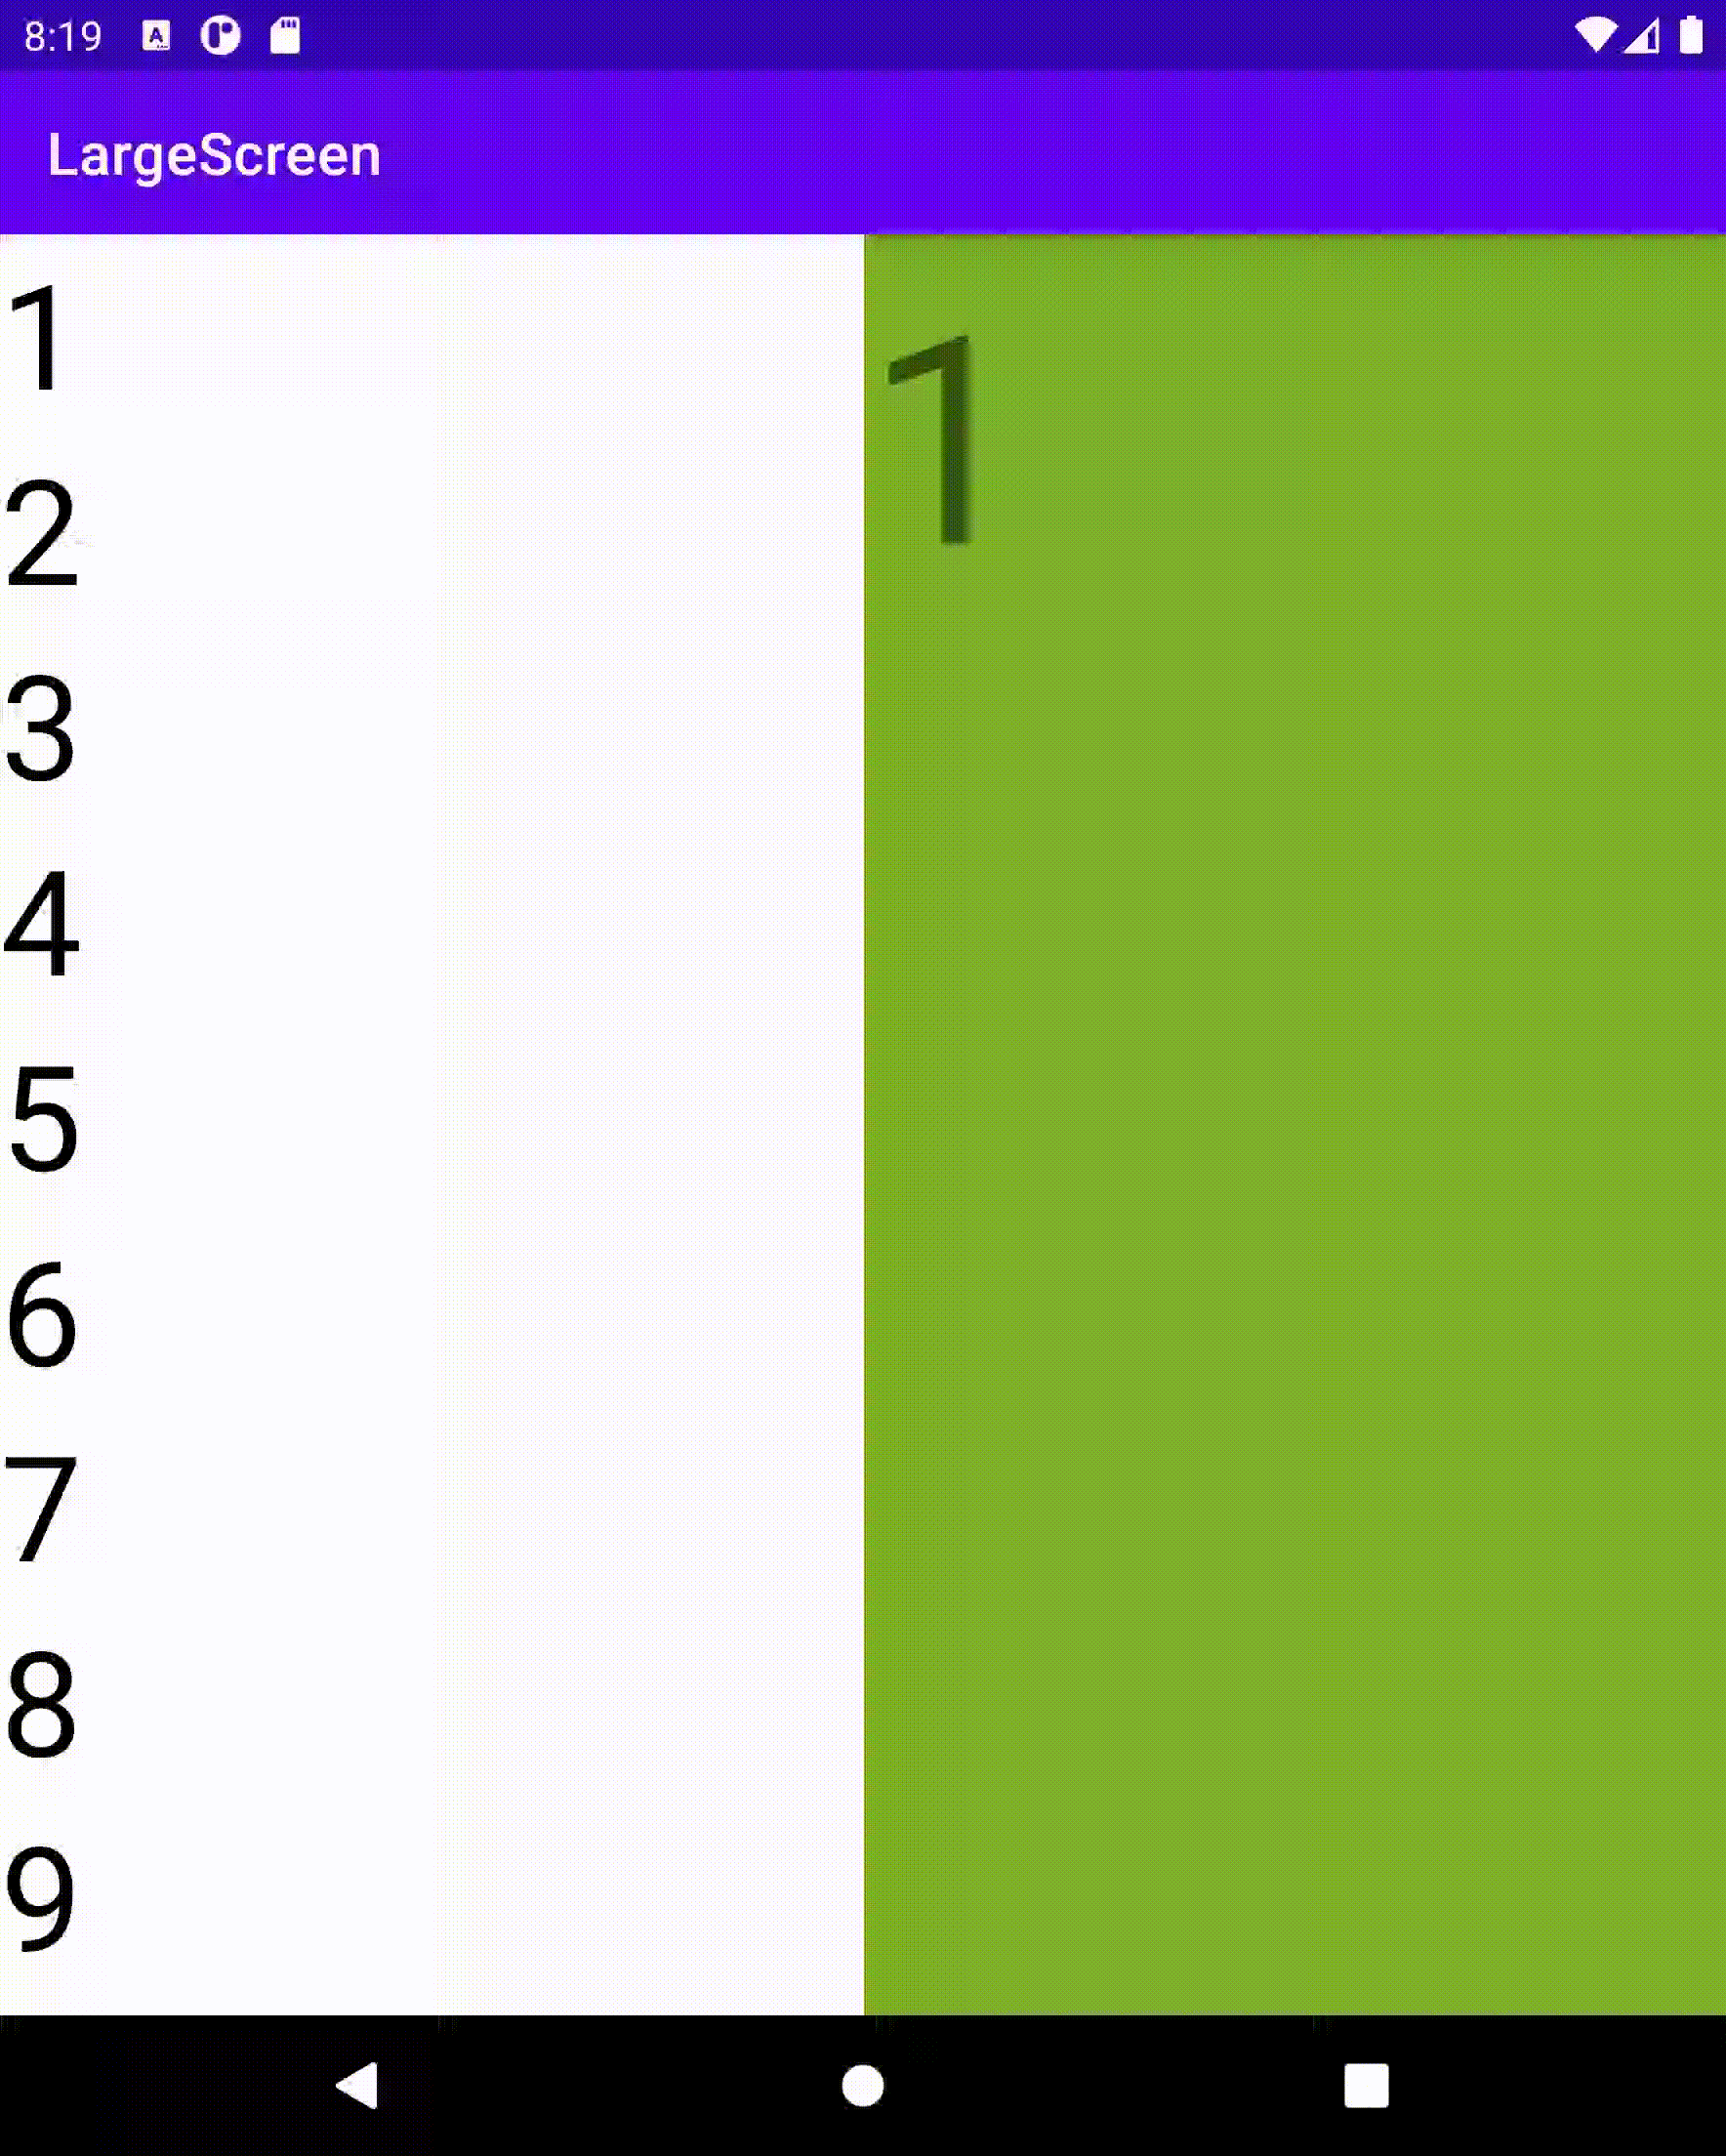
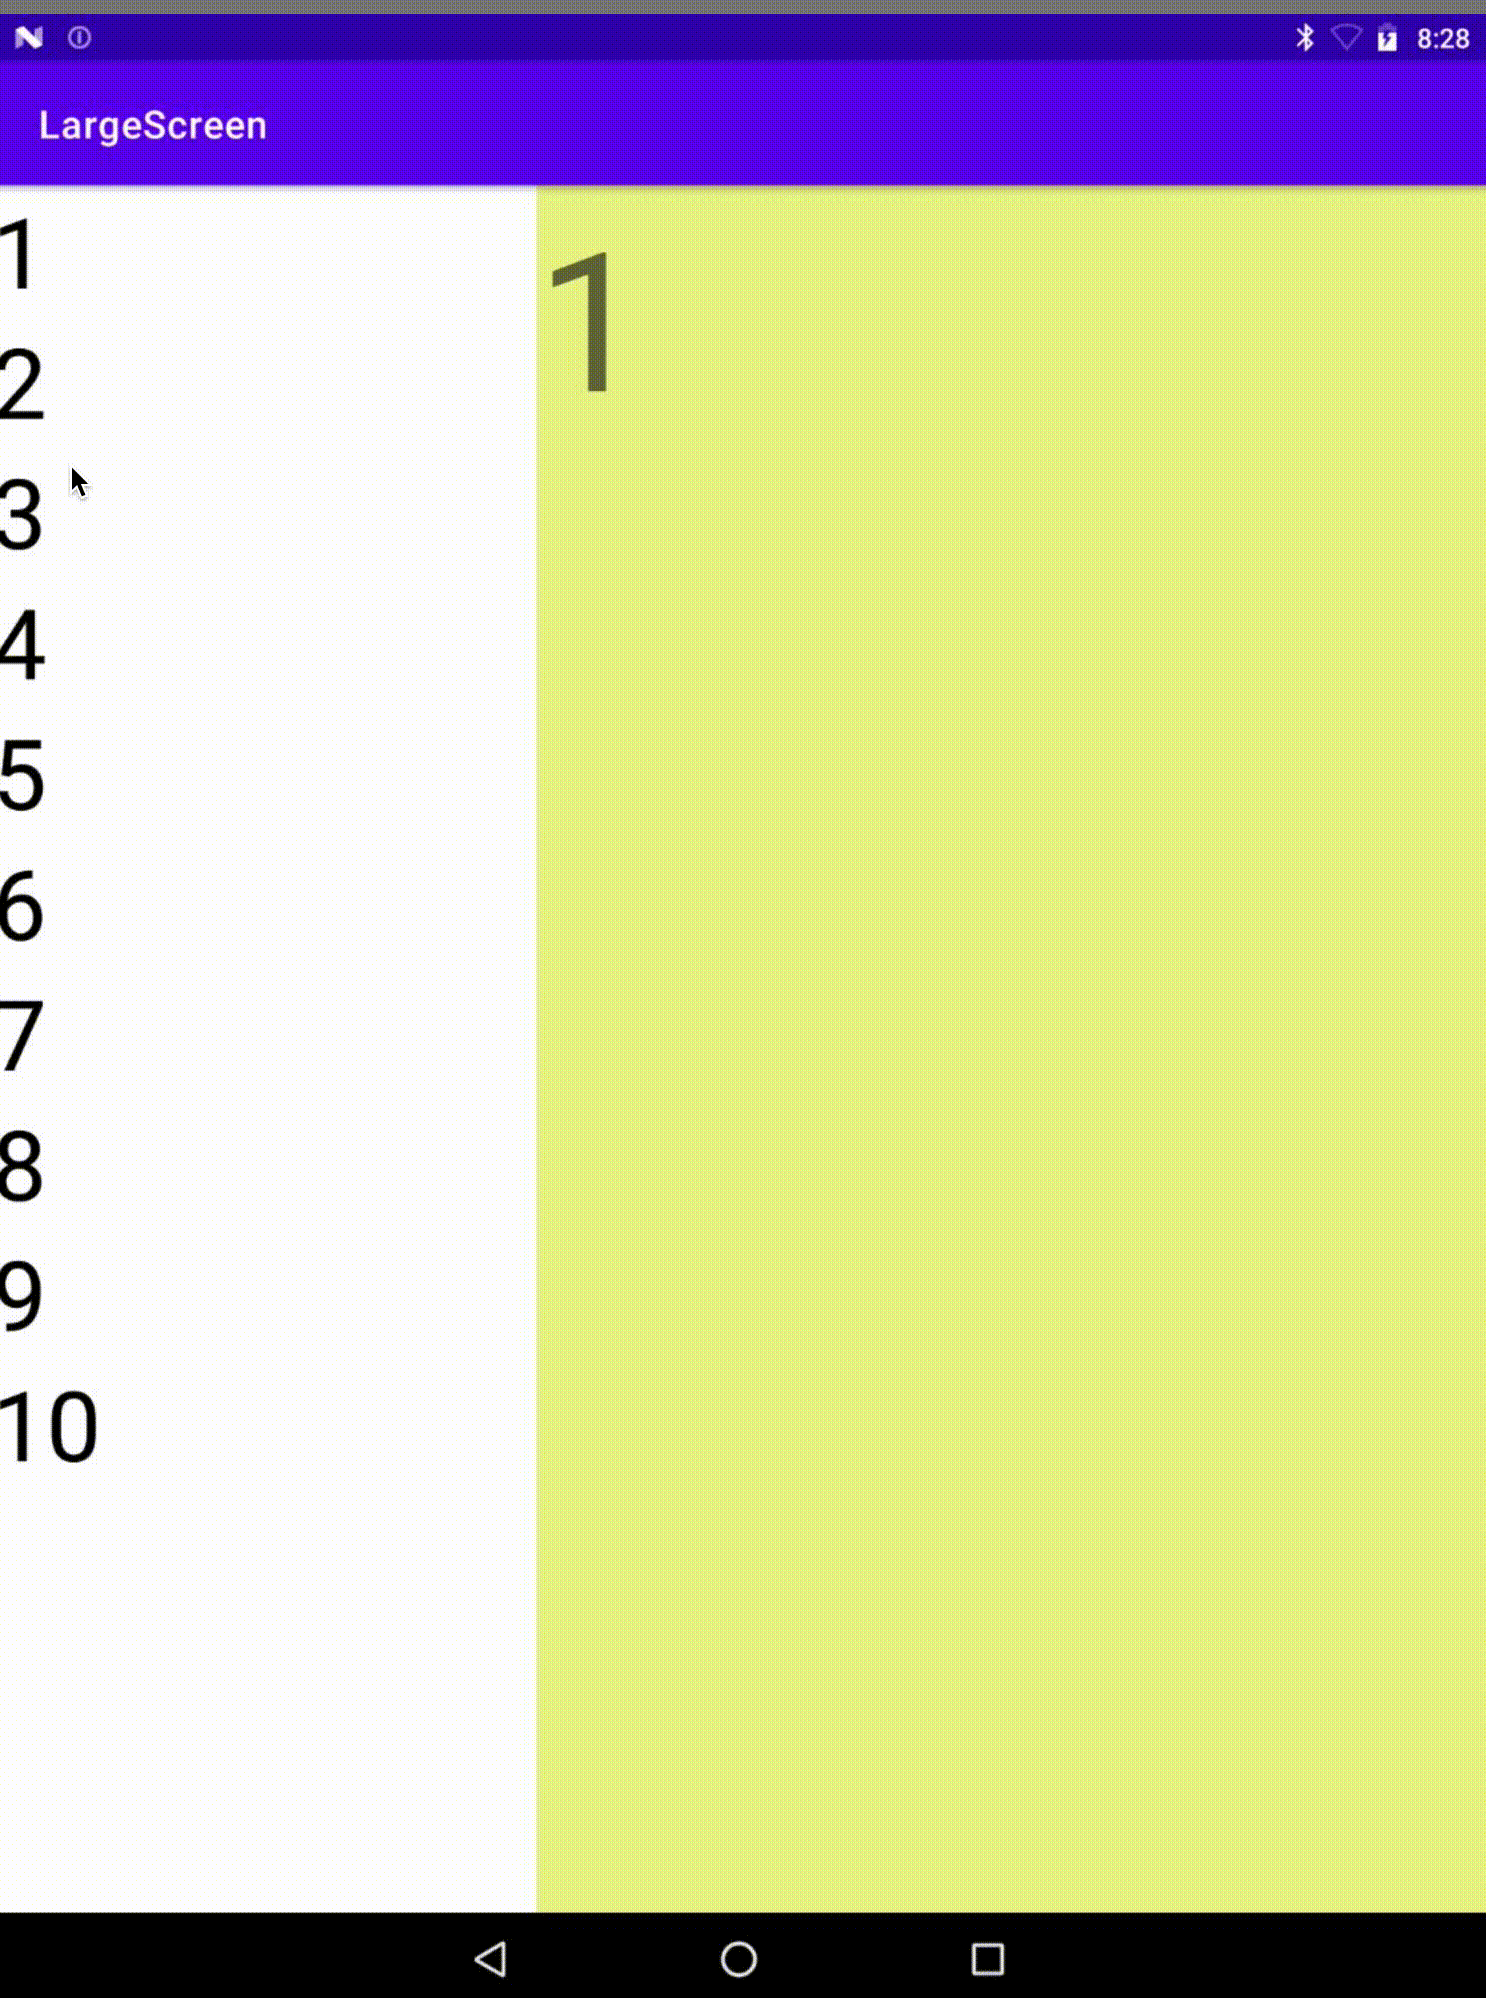
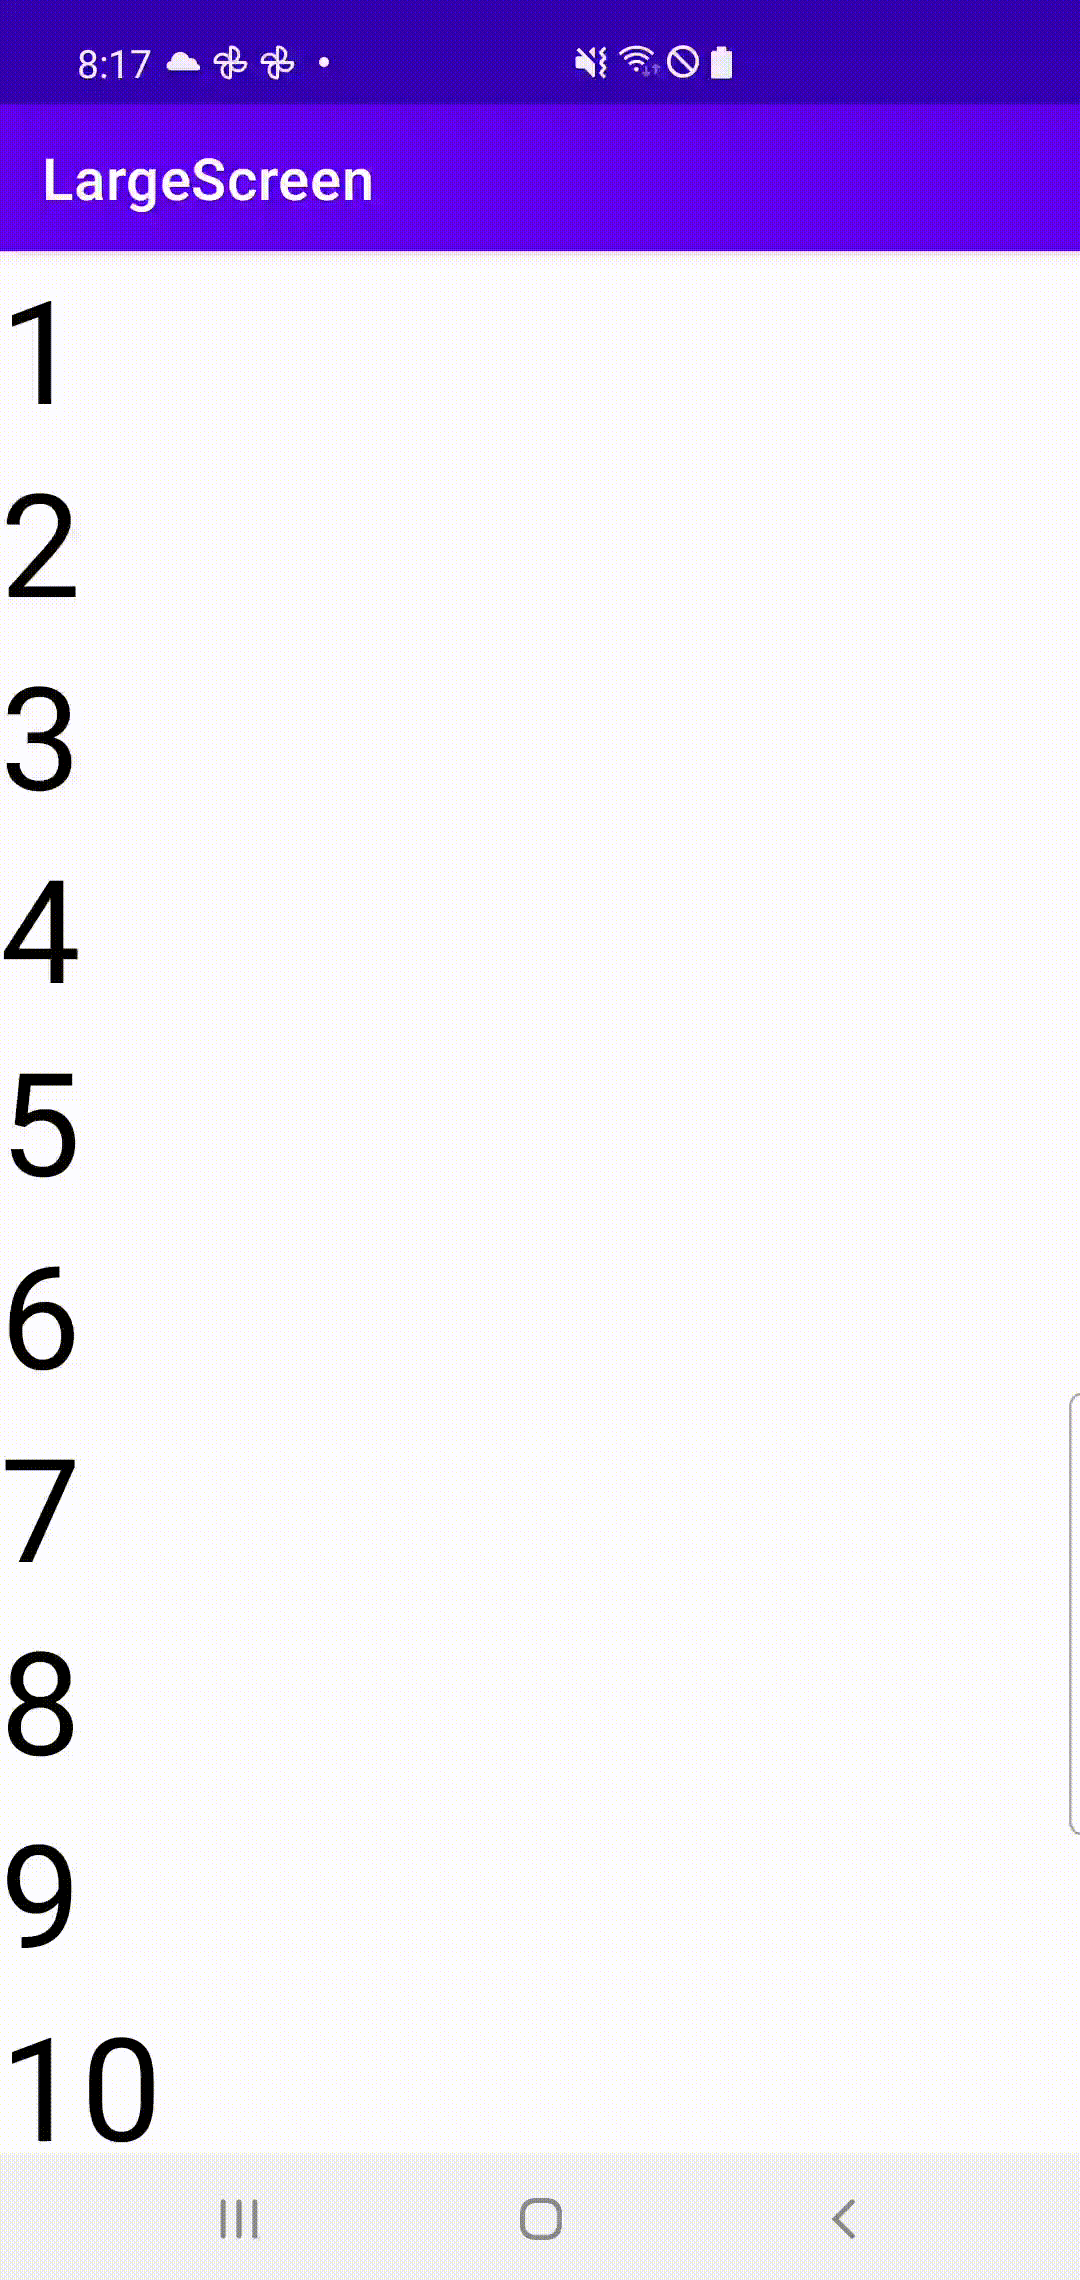
위와 같이 라지 스크린인 Fold와 Tablet은 목록과 세부정보 창이 함께 뜨고, 그보다 작은 S10은 목록과 세부정보 창이 한 창에 뜬다. 단, Fold는 접었을 때 S10과 동작이 동일하다.
설정 (Setup)
build.gradle에 SlidingPaneLayout을 선언한다.
To use SlidingPaneLayout, include the following dependency in your app's build.gradle file:
dependencies {
    implementation("androidx.slidingpanelayout:slidingpanelayout:1.2.0-alpha03")
}
XML 레이아웃 구성 (XML layout configuration)
두 창의 너비를 계산해 창을 나란히 표시할지 하나의 창만 표시할지 결정한다.
- 예를 들어 왼쪽 목록 창의 최소 크기가 200dp, 세부정보 창에 400dp로 선언되었을 경우
- 최소 600dp가 있어야 두 창을 나란히 표시한다.
- 화면의 크기가 600dp 미만인 경우 경우에는 오른쪽 창이 왼쪽 창에 올려져서 표시된다. 오른쪽 창을 종료하려면 제일 위에 있는 뷰 화면 가장자리에서부터 드래그하면 나갈 수 있다.
- 600dp를 초과하는 경우 "layout_weight"를 사용하여 남은 공간을 어떻게 분할할지 정의할 수 있다.
폴더블 디바이스에서는 힌지 양쪽에 두 창이 위치하도록 자동으로 조정된다. 이 경우 접히는 부분 양옆에 필요한 최소 너비로 간주된다. 최소 크기가 유지되지 않으면 하나로 겹쳐서 표시된다.
아래 예제는 왼쪽에 RecyclerView가 표시되고 오른쪽에 FragmentContainerView가 오는 구조이다.
SlidingPaneLayout uses the width of the two panes to determine whether to show the panes side by side.
For example, if the list pane is measured to have a minimum size of 200dp and the detail pane needs 400dp,
- then the SlidingPaneLayout automatically shows the two panes side by side as long as it has at least 600dp of width available.
- Child views overlap if their combined width exceeds the available width in the SlidingPaneLayout. In this case, the child views expand to fill the available width in the SlidingPaneLayout. The user can slide the topmost view out of the way by dragging it back from the edge of the screen.
- If the views do not overlap, SlidingPaneLayout supports the use of the layout parameter "layout_weight" on child views to define how to divide leftover space after measurement is complete. This parameter is only relevant for width.
On a foldable device that has space on the screen to show both views side by side, SlidingPaneLayout automatically adjusts the size of the two panes so that they are positioned on either side of an overlapping fold or hinge. In this case, the widths set are considered the minimum width that must exist on each side of the folding feature. If there is not enough space to maintain that minimum size, SlidingPaneLayout switches back to overlapping the views.
Here is an example of using a SlidingPaneLayout that has a RecyclerView as its left pane and a FragmentContainerView as its primary detail view to display content from the left pane:
<!-- two_pane.xml -->
<androidx.slidingpanelayout.widget.SlidingPaneLayout
   xmlns:android="http://schemas.android.com/apk/res/android"
   android:id="@+id/sliding_pane_layout"
   android:layout_width="match_parent"
   android:layout_height="match_parent">

   <!-- The first child view becomes the left pane. When the combined
        desired width (expressed using android:layout_width) would
        not fit on-screen at once, the right pane is permitted to
        overlap the left. -->
   <androidx.recyclerview.widget.RecyclerView
             android:id="@+id/list_pane"
             android:layout_width="280dp"
             android:layout_height="match_parent"
             android:layout_gravity="start"/>

   <!-- The second child becomes the right (content) pane. In this
        example, android:layout_weight is used to expand this detail pane
        to consume leftover available space when the
        the entire window is wide enough to fit both the left and right pane.-->
   <androidx.fragment.app.FragmentContainerView
       android:id="@+id/detail_container"
       android:layout_width="300dp"
       android:layout_weight="1"
       android:layout_height="match_parent"
       android:background="#ff333333"
       android:name="com.example.SelectAnItemFragment" />
</androidx.slidingpanelayout.widget.SlidingPaneLayout>
왼쪽 메뉴가 눌리면 세부정보 창 바꾸기 (Programmatically swap out the detail pane)
RecyclerView의 아이템들을 누르면 프래그먼트 창을 바꾸는 예제이다. SlidingPaneLayout에서 open()을 호출해서 프래그먼트를 교체할 수 있다.
By tapping on an element in the RecyclerView triggers a change in the detail pane. When using fragments, this requires a FragmentTransaction that replaces the right pane, calling open() on the SlidingPaneLayout to swap to the newly visible fragment:
// A method on the Fragment that owns the SlidingPaneLayout,
// called by the adapter when an item is selected.
fun openDetails(itemId: Int) {
    childFragmentManager.commit {
        setReorderingAllowed(true)
        replace<ItemFragment>(R.id.detail_container,
            bundleOf("itemId" to itemId))
        // If we're already open and the detail pane is visible,
        // crossfade between the fragments.
        if (binding.slidingPaneLayout.isOpen) {
            setTransition(FragmentTransaction.TRANSIT_FRAGMENT_FADE)
        }
    }
    binding.slidingPaneLayout.open()
}
뒤로버튼과 통합 (Integrate with the system back button)
작은 스크린 단말에서는 뒤로 버튼을 누르면 세부정보 창에서 목록 창으로 다시 이동하는 것이 바람직하다. 아래와 같이 OnBackPressedCallback을 이용해 작업한다.
On smaller devices where the list and detail panes overlap, you should ensure that the system back button takes the user from the detail pane back to the list pane. Do this by providing custom back navigation and connecting an OnBackPressedCallback to the current state of the SlidingPaneLayout:
class TwoPaneOnBackPressedCallback(
    private val slidingPaneLayout: SlidingPaneLayout
) : OnBackPressedCallback(
    // Set the default 'enabled' state to true only if it is slidable (i.e., the panes
    // are overlapping) and open (i.e., the detail pane is visible).
    slidingPaneLayout.isSlideable && slidingPaneLayout.isOpen
), SlidingPaneLayout.PanelSlideListener {

    init {
        slidingPaneLayout.addPanelSlideListener(this)
    }

    override fun handleOnBackPressed() {
        // Return to the list pane when the system back button is pressed.
        slidingPaneLayout.closePane()
    }

    override fun onPanelSlide(panel: View, slideOffset: Float) { }

    override fun onPanelOpened(panel: View) {
        // Intercept the system back button when the detail pane becomes visible.
        isEnabled = true
    }

    override fun onPanelClosed(panel: View) {
        // Disable intercepting the system back button when the user returns to the
        // list pane.
        isEnabled = false
    }
}
이제 이 콜백을 OnBackPressedDispatcher 에 추가한다.
Then, you can add the callback to the OnBackPressedDispatcher using addCallback():
class TwoPaneFragment : Fragment(R.layout.two_pane) {

    override fun onViewCreated(view: View, savedInstanceState: Bundle?) {
        val binding = TwoPaneBinding.bind(view)

        // Connect the SlidingPaneLayout to the system back button.
        requireActivity().onBackPressedDispatcher.addCallback(viewLifecycleOwner,
            TwoPaneOnBackPressedCallback(binding.slidingPaneLayout))

        // Setup the RecyclerView adapter, etc.
    }
}
잠금 모드 (Lock mode)
작은 스크린 단말에서 목록과 세부정보 창이 겹쳐져서 표시된다. 이 때 양방향으로 스와이프를 할 수 있는데 이 것을 막고 open() 및 close() 를 직접 호출할 수 있다.
SlidingPaneLayout always allows you to manually call open() and close() to transition between the list and detail panes on phones. These methods have no effect if both panes are visible and do not overlap.
binding.slidingPaneLayout.lockMode = SlidingPaneLayout.LOCK_MODE_LOCKEDhttps://developer.android.com/guide/topics/ui/layout/twopane
반응형