-
OpenGL ES 3.0 - Hello Triangle ExampleGraphics/OpenGL ES 3.0 2020. 5. 25. 12:08반응형
이 글은 OpenGL ES 3.0 Programming Guide (2nd ed.) [Ginsburg & Purnomo 2014-03-10] 를 나름 번역한 글입니다.
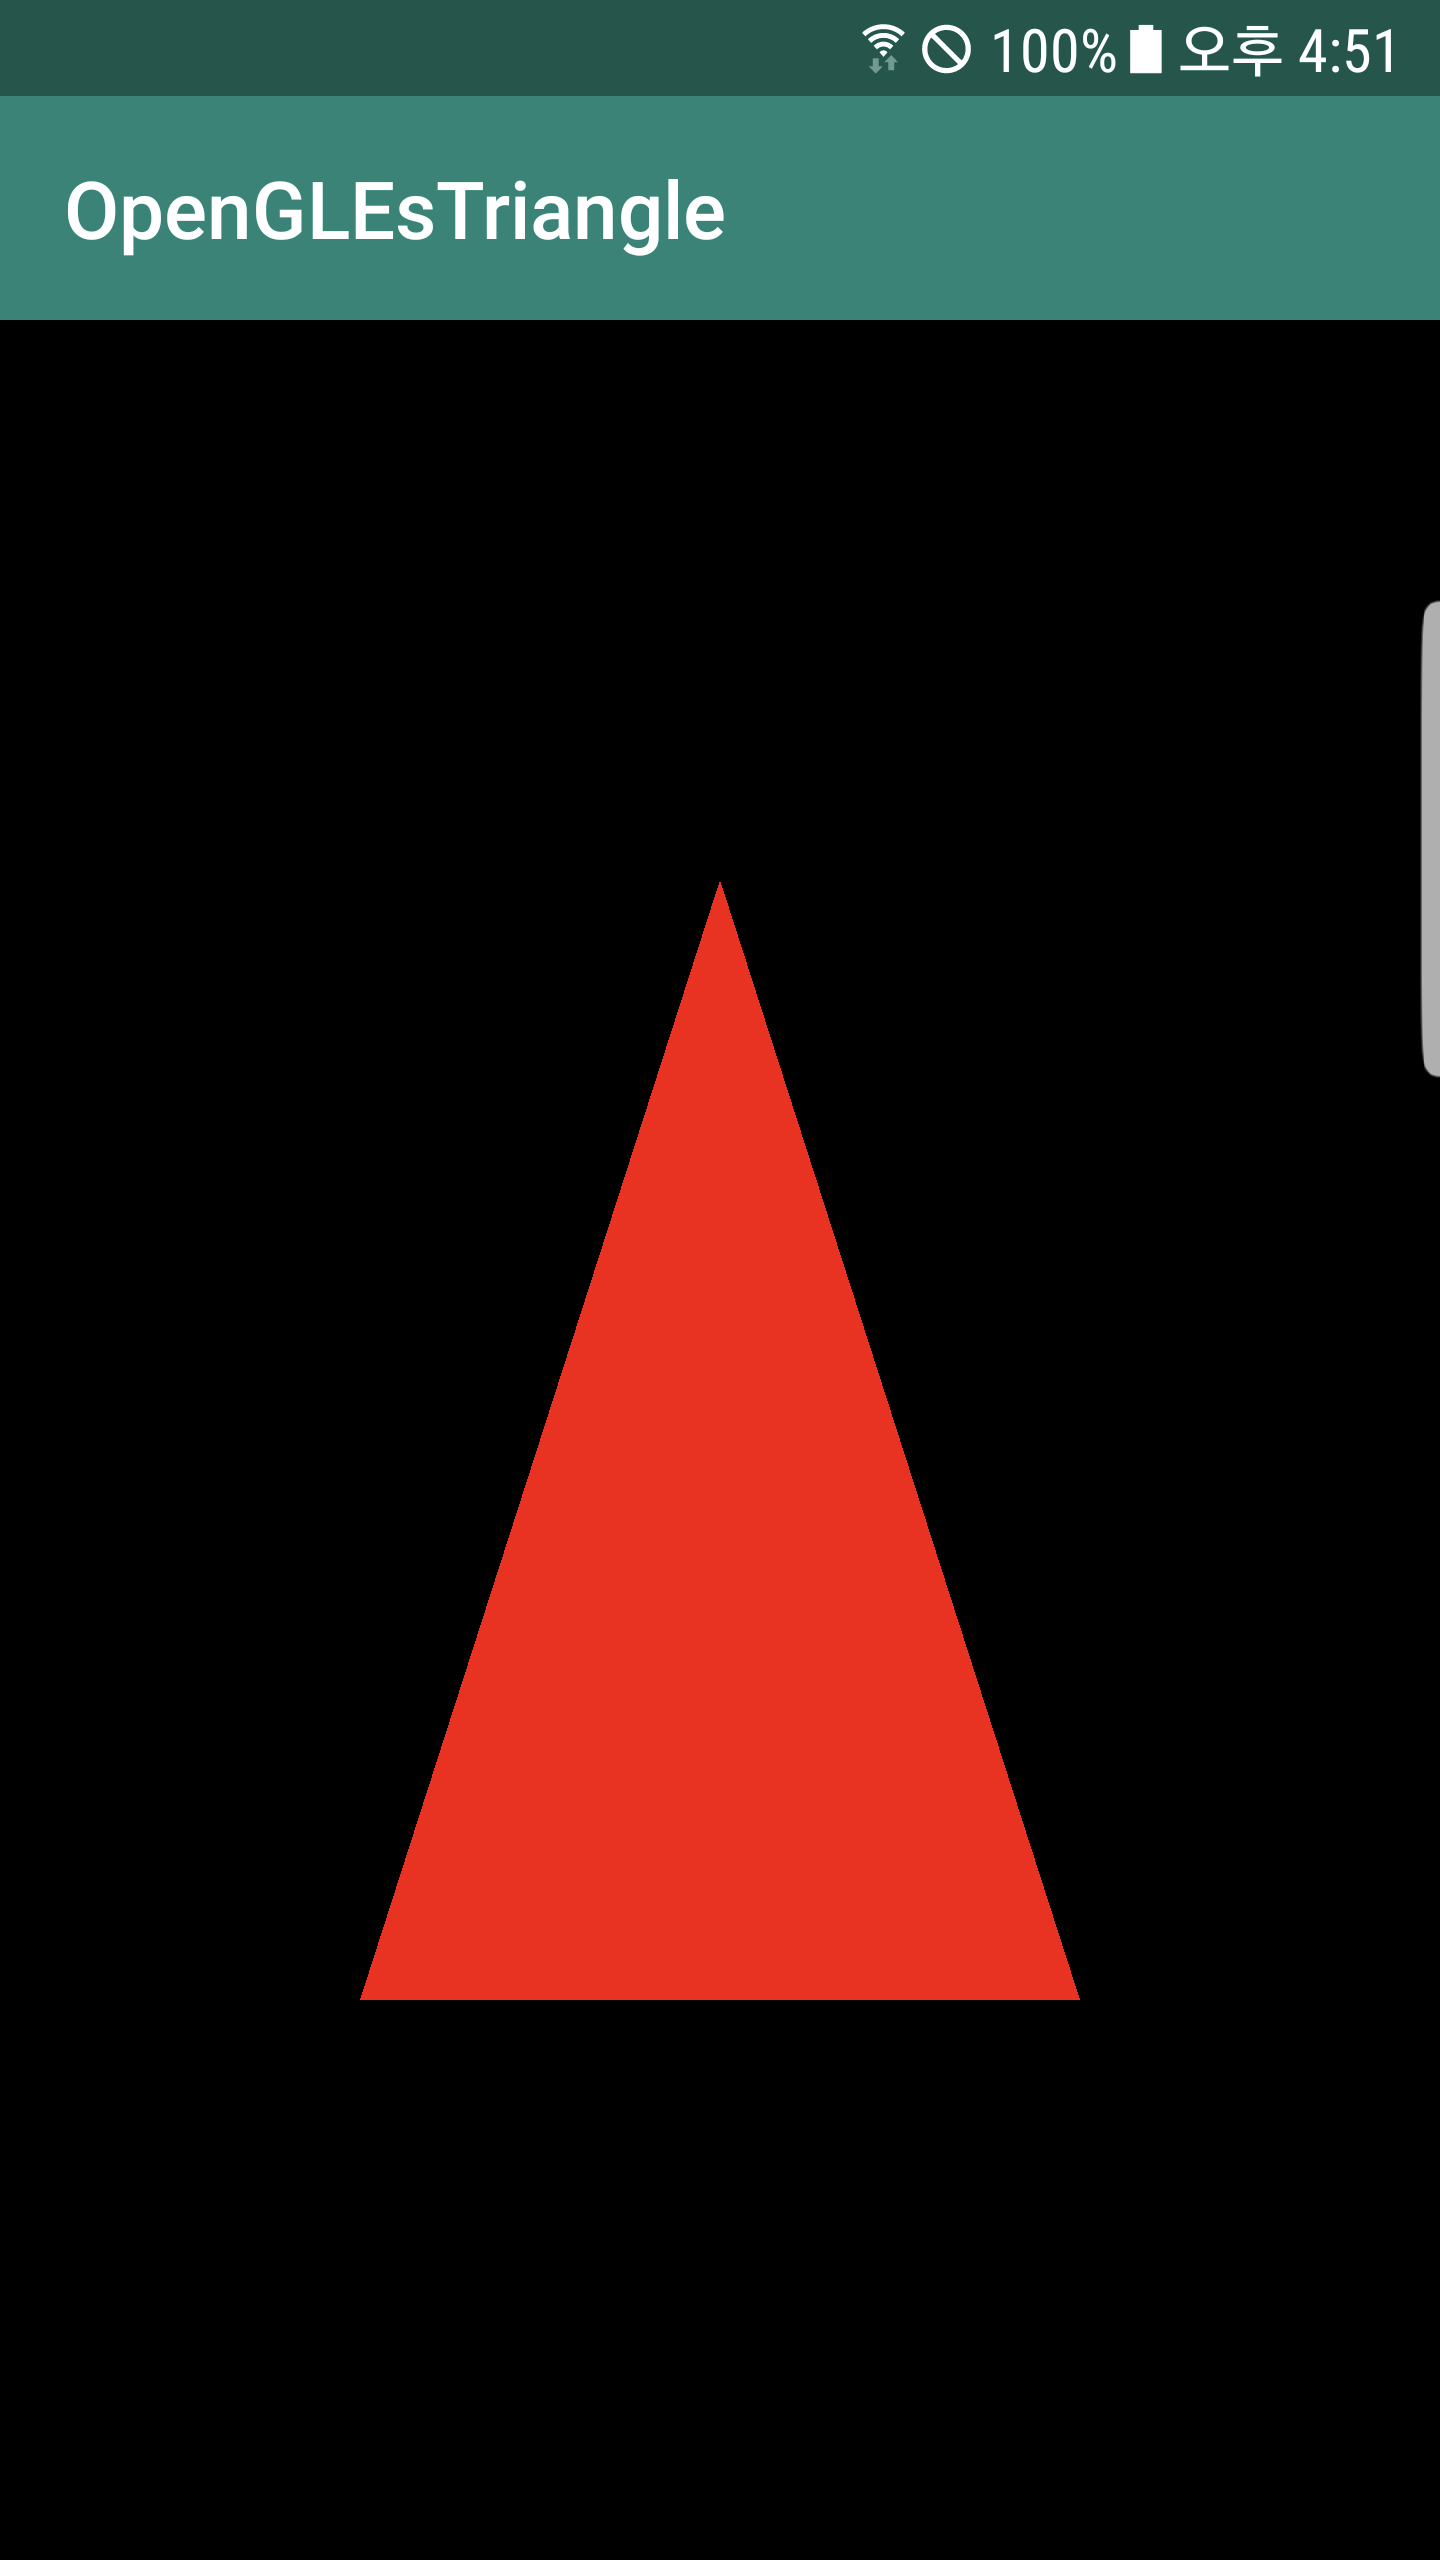
OpenGL 3.0을 시작하기에 앞서 간단한 예제를 작성해보려고 한다. 이 챕터에서는 삼각형을 하나 그려보려고 한다. Program 은 가장 간단한 삼각형을 그리는 프로그램을 작성할 것이다. 다음 스텝을 따라할 것이다.
- 화면에 나타낼 수 있도록 EGL을 이용해 surface를 만들 것이다.
- vertex, fragment shader를 로드할 것이다.
- 프로그램 객체를 생성하고 vertex, fragment shader를 연결하는 program을 생성할 것이다.
- viewport를 셋팅할 것이다.
- color buffer를 clear할 것이다.
- 간단한 primitive를 도형을 그릴 것이다.
- EGL window surface에 눈에 보이는 content를 만들 것이다.
위에서 보는 것과 같이 꽤 많은 step을 처리해야한다. OpenGL API 설명은 다음 챕터부터 살펴볼 것이다. 이 챕터에서는 단지 이 간단한 프로그램을 실행시키는데 목적이 있다.
Code Framework
이 책에서 우리는 OpenGL ES 3.0 프로그램에서 유용한 function들을 담은 library를 빌드한다. 여기서 주의할 점이 몇가지 있다.
- 간단해야하고 알아보기 쉽게 작성해야한다. 필요한 OpenGL ES 3.0 function만 집중할 것이다.
- 간편해야한다. 즉, OpenGL ES 3.0이 작성 가능한 모든 플랫폼에 코드가 사용 가능하도록 할 것이다.
이 책에서는 C로 작성될 것이다.
Where to download the examples
opengles-book.com 에서 샘플 코드들을 다운로드 받을 수 있다. 이 샘플 코드들은 Windows, Linux, Android, iOS7 등에 동작 가능하게 작성되었다. 이 책에서는 cross-platform tool인 cmake를 사용했고 Visual studio, Eclipse 등을 사용할 수 있다. 개발 툴의 선택은 독자에 달렸다.
Hello Triangle Example
Desktop OpenGL 에 익숙하다면 아래 코드를 보고 삼각형을 그리는 코드라는 걸 알 것이다. OpenGL ES 3.0은 2.0 에서와 같이 shader 코드가 반드시 load 되어 있어야 object를 그릴 수 있다.
// The MIT License (MIT)
//
// Copyright (c) 2013 Dan Ginsburg, Budirijanto Purnomo
//
// Permission is hereby granted, free of charge, to any person obtaining a copy
// of this software and associated documentation files (the "Software"), to deal
// in the Software without restriction, including without limitation the rights
// to use, copy, modify, merge, publish, distribute, sublicense, and/or sell
// copies of the Software, and to permit persons to whom the Software is
// furnished to do so, subject to the following conditions:
//
// The above copyright notice and this permission notice shall be included in
// all copies or substantial portions of the Software.
//
// THE SOFTWARE IS PROVIDED "AS IS", WITHOUT WARRANTY OF ANY KIND, EXPRESS OR
// IMPLIED, INCLUDING BUT NOT LIMITED TO THE WARRANTIES OF MERCHANTABILITY,
// FITNESS FOR A PARTICULAR PURPOSE AND NONINFRINGEMENT. IN NO EVENT SHALL THE
// AUTHORS OR COPYRIGHT HOLDERS BE LIABLE FOR ANY CLAIM, DAMAGES OR OTHER
// LIABILITY, WHETHER IN AN ACTION OF CONTRACT, TORT OR OTHERWISE, ARISING FROM,
// OUT OF OR IN CONNECTION WITH THE SOFTWARE OR THE USE OR OTHER DEALINGS IN
// THE SOFTWARE.

//
// Book:      OpenGL(R) ES 3.0 Programming Guide, 2nd Edition
// Authors:   Dan Ginsburg, Budirijanto Purnomo, Dave Shreiner, Aaftab Munshi
// ISBN-10:   0-321-93388-5
// ISBN-13:   978-0-321-93388-1
// Publisher: Addison-Wesley Professional
// URLs:      http://www.opengles-book.com
//            http://my.safaribooksonline.com/book/animation-and-3d/9780133440133
//
// Hello_Triangle.c
//
//    This is a simple example that draws a single triangle with
//    a minimal vertex/fragment shader.  The purpose of this
//    example is to demonstrate the basic concepts of
//    OpenGL ES 3.0 rendering.
#include "esUtil.h"

typedef struct
{
   // Handle to a program object
   GLuint programObject;

} UserData;

///
// Create a shader object, load the shader source, and
// compile the shader.
//
GLuint LoadShader ( GLenum type, const char *shaderSrc )
{
   GLuint shader;
   GLint compiled;

   // Create the shader object
   shader = glCreateShader ( type );

   if ( shader == 0 )
   {
      return 0;
   }

   // Load the shader source
   glShaderSource ( shader, 1, &shaderSrc, NULL );

   // Compile the shader
   glCompileShader ( shader );

   // Check the compile status
   glGetShaderiv ( shader, GL_COMPILE_STATUS, &compiled );

   if ( !compiled )
   {
      GLint infoLen = 0;

      glGetShaderiv ( shader, GL_INFO_LOG_LENGTH, &infoLen );

      if ( infoLen > 1 )
      {
         char *infoLog = malloc ( sizeof ( char ) * infoLen );

         glGetShaderInfoLog ( shader, infoLen, NULL, infoLog );
         esLogMessage ( "Error compiling shader:\n%s\n", infoLog );

         free ( infoLog );
      }

      glDeleteShader ( shader );
      return 0;
   }

   return shader;

}

///
// Initialize the shader and program object
//
int Init ( ESContext *esContext )
{
   UserData *userData = esContext->userData;
   char vShaderStr[] =
      "#version 300 es                          \n"
      "layout(location = 0) in vec4 vPosition;  \n"
      "void main()                              \n"
      "{                                        \n"
      "   gl_Position = vPosition;              \n"
      "}                                        \n";

   char fShaderStr[] =
      "#version 300 es                              \n"
      "precision mediump float;                     \n"
      "out vec4 fragColor;                          \n"
      "void main()                                  \n"
      "{                                            \n"
      "   fragColor = vec4 ( 1.0, 0.0, 0.0, 1.0 );  \n"
      "}                                            \n";

   GLuint vertexShader;
   GLuint fragmentShader;
   GLuint programObject;
   GLint linked;

   // Load the vertex/fragment shaders
   vertexShader = LoadShader ( GL_VERTEX_SHADER, vShaderStr );
   fragmentShader = LoadShader ( GL_FRAGMENT_SHADER, fShaderStr );

   // Create the program object
   programObject = glCreateProgram ( );

   if ( programObject == 0 )
   {
      return 0;
   }

   glAttachShader ( programObject, vertexShader );
   glAttachShader ( programObject, fragmentShader );

   // Link the program
   glLinkProgram ( programObject );

   // Check the link status
   glGetProgramiv ( programObject, GL_LINK_STATUS, &linked );

   if ( !linked )
   {
      GLint infoLen = 0;

      glGetProgramiv ( programObject, GL_INFO_LOG_LENGTH, &infoLen );

      if ( infoLen > 1 )
      {
         char *infoLog = malloc ( sizeof ( char ) * infoLen );

         glGetProgramInfoLog ( programObject, infoLen, NULL, infoLog );
         esLogMessage ( "Error linking program:\n%s\n", infoLog );

         free ( infoLog );
      }

      glDeleteProgram ( programObject );
      return FALSE;
   }

   // Store the program object
   userData->programObject = programObject;

   glClearColor ( 1.0f, 1.0f, 1.0f, 0.0f );
   return TRUE;
}

///
// Draw a triangle using the shader pair created in Init()
//
void Draw ( ESContext *esContext )
{
   UserData *userData = esContext->userData;
   GLfloat vVertices[] = {  0.0f,  0.5f, 0.0f,
                            -0.5f, -0.5f, 0.0f,
                            0.5f, -0.5f, 0.0f
                         };

   // Set the viewport
   glViewport ( 0, 0, esContext->width, esContext->height );

   // Clear the color buffer
   glClear ( GL_COLOR_BUFFER_BIT );

   // Use the program object
   glUseProgram ( userData->programObject );

   // Load the vertex data
   glVertexAttribPointer ( 0, 3, GL_FLOAT, GL_FALSE, 0, vVertices );
   glEnableVertexAttribArray ( 0 );

   glDrawArrays ( GL_TRIANGLES, 0, 3 );
}

void Shutdown ( ESContext *esContext )
{
   UserData *userData = esContext->userData;

   glDeleteProgram ( userData->programObject );
}

int esMain ( ESContext *esContext )
{
   esContext->userData = malloc ( sizeof ( UserData ) );

   esCreateWindow ( esContext, "Hello Triangle", 320, 240, ES_WINDOW_RGB );

   if ( !Init ( esContext ) )
   {
      return GL_FALSE;
   }

   esRegisterShutdownFunc ( esContext, Shutdown );
   esRegisterDrawFunc ( esContext, Draw );

   return GL_TRUE;
}
https://github.com/danginsburg/opengles3-book/blob/master/Chapter_2/Hello_Triangle/Hello_Triangle.c
Chapter 16에 Android외 다른 플랫폼에서 코드를 실행하는 것을 볼 수 있다.
Using the OpenGL ES 3.0 Framework
어떤 플랫폼 위에서 동작하더라도 esMain()이 프로그램의 시작지점을 정의한다. 이 함수 안에서는 여러 ES utility 함수들을 호출하는데, esMain 함수는 파라미터 값으로 ESContext를 받는다. ESContext는 userData라는 member variable을 가진다. 각 샘플 프로그램은 userData안에 어떤 값이든 저장할 수 있다. 또한, ESContext에는 window의 width/height, EGL Context, callback 함수 포인터들이 있다.
esMain 함수에는 userData를 생성하고 window나 다른 callback 함수를 initialize하는 역할을 한다.
esContext->userData = malloc ( sizeof( UserData ) );

esCreateWindow( esContext, "Hello Triangle", 320, 240, ES_WINDOW_RGB );

if ( !Init( esContext ) )

     return GL_FALSE;

esRegisterDrawFunc(esContext, Draw);
esCreateWindow 호출은 특정 width/height를 가지는 window를 생성한다. (이 경우에는 320x240이다.) “Hello Trignale” 파라미터는 window의 이름으로 사용된다. Window와 Linux에서 이 이름은 window의 윗부분에 표시된다. 마지막 파라미터는 RGB frame buffer를 요청한다는 의미이다. 챕터 3인 “EGL 소개”는 esCreateWindow 가 가진 의미를 더 자세히 다룬다. 이 함수는 EGL을 사용하는데, window에 붙는 on-screen render surface를 생성한다. EGL은 platform 독립적인 API로 렌더링하는 surface와 context를 생성한다. 지금은 이 함수가 rendering하는 surface를 생성한다는 것만 이야기하고 더 자세한 내용은 다음 챕터로 살펴본다. esCreateWindow 를 호출한 다음에는, main function은 Init으로 프로그램을 초기화하는데 필요한 모든 것을 담고 있다. 마지막 함수는 Draw인데 frame이 그려지는 callback 함수이다. esMain이 종료되면, framework는 window가 종료될 때까지 Draw와 Update를 호출하는 main loop으로 진입한다.
Creating a Simple Vertex and Fragment Shader
OpenGL ES 3.0에서는 vertex와 fragment shader없이는 도형을 그릴 수 없다. Chapter 1에서 OpenGL 3.0 programmable pipeline에 대해서 잠시 다뤘는데, 그 곳에 vertex, fragment shader의 컨셉을 담고 있다. 어떤 도형을 그리더라도 적어도 하나의 vertex shader와 fragment shader를 작성해야한다. 왜냐하면 두 개의 shader 프로그램이 vertices들의 변형(이동/확대/축소/회전)과 fragment를 그리는 것을 GL에게 알려주기 때문이다. 도형을 그릴 때는 이 vertex shader와 fragment shader가 무조건 필요하다.
Init 함수에서 하는 가장 큰 일은 vertex shader와 fragment shader를 load하는 일이다. Vertex shader는 다음과 같고 아주 간단하다.
"#version 300 es                          \n" // 1)
"layout(location = 0) in vec4 vPosition;  \n" // 2)
"void main()                              \n" // 3)
"{                                        \n"
"   gl_Position = vPosition;              \n"
"}                                        \n";
Vertex shader이 라인 1)은 GLSL ES 3.0 버전을 명시한 것이다. 주의할 점은. OpenGL ES 3.0 부터는 버전 명시를 해야 컴파일이 된다.
그리고 라인 2)에서는 하나의 input attribute array를 정의하고 있다. 점 하나당 4개의 component를 가지고 있고 vPosition으로 명시하고 있다. 뒤에 Draw 함수에서 position들을 이 변수에 전달할 것이다. layout(location=0) 라는 한정자는 attribute 한정자를 가진 변수에 사용하고 이 변수의 vertex attribute index가 0라는 것을 의미한다. 예를 들어 두 개의 shader가 같은 position array에 접근할 수도 있는데 이 때, 서로 다른 index의 값을 원할 수도 있다. layout (location=0)는 이럴 경우에 원하는 position index 시작값에 접근 할 수 있게 해준다. getAttribLocation 함수도 같은 기능을 제공하지만 이 것은 렌더링 타임에 적용되므로 speed를 좀 더 줄이고 init 타임에 적용하고 싶다면 layout(location=0)를 사용해보자.
라인 3) 의 main()의 body는 아주 간단하다. vPosition에 저장되어있는 input attribute를 output 변수인 gl_Position으로 넘긴다. 모든 vertex shader는 position을 input으로 받아 gl_Position 변수로 넘겨야한다. 이 변수의 값은 다음 GL Pipeline으로 넘겨진다.
다음은 fragment shader이다.
"#version 300 es                              \n"    // 1)
"precision mediump float;                     \n" // 2)
"out vec4 fragColor;                          \n" // 3)
"void main()                                  \n" // 4)
"{                                            \n"
"   fragColor = vec4 ( 1.0, 0.0, 0.0, 1.0 );  \n"
"}                                            \n";
Vertex shader에서 보았듯이, 라인 1)은 shader의 버전이다. 라인 2)는 shader에서 float 변수에 대한 정밀도인데, 이 precision 한정자에 대해서는 Chapter 5 "GLSL Language" 에서 살펴볼 것이다. Fragment shader에서는 4개의 component를 갖는 fragColor라는 변수 뿐이다. fragColor에 쓰여진 값은 color buffer에 다시 쓰여진다. 자세한 내용은 Chapter 9, “Texturing” 과 Chater 10 “Fragment shader”에서 다룬다.
일반적으로 game이나 앱에서는 shader source code를 string inline으로 배열하지 않는다. Data file로 분리해 사용하지만 이 예제에서는 shader code가 몇 줄 되지 않아서 바로 앱 코드에 넣었다.
Compiling and Loading the Shaders
앱이 shader object 를 생성하려면, program object가 필요하다. Program object는 최종 program에 연결된 것으로 생각할 수 있다. shader들은 shader object로 컴파일되고 drawing 되기 전에 program object에 반드시 연결되어 있어야한다. Program object를 생성하고 연결하는 프로세스에 대한 설명은 Chapter 4 “Shaders and Program”에서 다룬다.
여기까지 간단하게 프로세스를 훑어 보았다. 다음 코드는 program object를 생성하고 vertex와 fragment shader를 연결하는 것이다.
// Create the program object
programObject = glCreateProgram ( );

if ( programObject == 0 )
{
    return 0;
}

glAttachShader ( programObject, vertexShader );
glAttachShader ( programObject, fragmentShader );

// Link the program
glLinkProgram ( programObject );

// Check the link status
glGetProgramiv ( programObject, GL_LINK_STATUS, &linked );

if ( !linked )
{
    GLint infoLen = 0;

    glGetProgramiv ( programObject, GL_INFO_LOG_LENGTH, &infoLen );

    if ( infoLen > 1 )
    {
        char *infoLog = malloc ( sizeof ( char ) * infoLen );

        glGetProgramInfoLog ( programObject, infoLen, NULL, infoLog );
        esLogMessage ( "Error linking program:\n%s\n", infoLog );

        free ( infoLog );
    }

    glDeleteProgram ( programObject );
    return FALSE;
}

// Store the program object
userData->programObject = programObject;
이 스텝들로 우리는 컴파일된 shader들을 얻고, 컴파일 에러를 확인 한 뒤, program object를 생성하고, shader를 프로그램에 연결한다. 그리고 에러를 살펴본다. OpenGL이 알 수 있도록 Program object의 연결이 성공하면, 우리는 이 program을 이용해서 렌더링을 성공적으로 할 수 있다. 이 program을 바인딩(사용)할 때, glUseProgram 함수를 사용한다.
// Use the program object
glUseProgram ( userData->programObject );
glUseProgram를 호출하면, 이후 일어나는 모든 렌더링은 그 program object에 연결되어있는 shader들을 통해서 이루어진다.
Setting the Viewport and Clearing the Color Buffer
우리는 EGL로 렌더링할 surface를 생성했고 shader들을 메모리에 올려놓았기 때문에 무언가를 그릴 준비가 되었다. Draw 콜백 함수는 frame을 그리는 함수이다. Draw에서 실행하는 실행문은 glViewPort인데, 이것은 실제 화면에 나타낼 렌더링 surface의 width와 height를 GL에게 전달한다. GL에서, viewport는 GL 렌더링 실행문이 최종적으로 화면에 나타나는 2D 사각형이다.
// Set the viewport
glViewport ( 0, 0, esContext->width, esContext->height );
viewport는 (x, y)와 width, height로 정의된다. 우리는 glViewPort를 좌표계와 clipping에 대해서 이야기할 때, 즉, Chapter 7, “Primitive assembly and resterization”에서 자세히 다룬다.
viewport에 width, height를 넘기고, screen을 clear한다. GL에서는 color, depth, stencil이라는 버퍼가 있다. 이 내용은 Chapter ``, “Fragment Operations”에서 다룬다. 이 삼각형 예제에서는, color buffer만 사용되었다. 각 frame이 시작할 때, 우리는 color buffer를 glClear 함수를 이용해서 비워야한다.
// Clear the color buffer
glClear ( GL_COLOR_BUFFER_BIT );
위 함수를 호출하면 color buffer는 비워지고, glClearColor로 지정된 색상으로 화면이 보여진다. Init 하단부에서, (1.0, 1.0, 1.0, 1.0) 흰색으로 지정했기 때문에 color buffer가 비워졌을 때, 흰색으로 color buffer를 채운다. glClear를 호출하기 전에 호출되어야한다.
Loading the Geometry and Drawing a Primitive
Color buffer도 clear했고, viewport로 width, height도 지정했고, program object도 메모리에 올렸다. 우리가 이제 해야할 것은 삼각형 도형을 정의하는 것이다. 이 삼각형의 좌표들은 vVertices에 저장되어있고 x,y,z 3개의 좌표계를 갖는다.
GLfloat vVertices[] = {
                    0.0f,  0.5f, 0.0f,
                  -0.5f, -0.5f, 0.0f,
                    0.5f, -0.5f, 0.0f
};

// Load the vertex data
glVertexAttribPointer ( 0, 3, GL_FLOAT, GL_FALSE, 0, vVertices );
glEnableVertexAttribArray ( 0 );

glDrawArrays ( GL_TRIANGLES, 0, 3 );
Vertex positions들은 GL에 로드되어 vertex shader의 vPosition에 전달 되어야한다. vPosition변수를 location 0로 이전에 바운딩해놓았다. 이 설정으로 vertex shader의 각 attribute는 0라는 location을 가지게 된다. 이 vertex shader의 attribute 변수에 값을 전달하려면 glVertexAttribPointer 함수를 사용한다. Chapter 6 “Vertex Attributes, Vertex Arrays, and Buffer Objects”에서 자세히 다룬다.
마지막으로 GL에 가장 기본적인 선분을 그리라고 알려줘야한다. 그래서 glDrawArrays 함수를 호출한다. 이 함수는 가장 기본적인 삼각형, 선, 조각 형태의 도형을 그리는 함수이다. Chapter 7 “Primitive Assembley and Rasterization.”에서 다룬다.
Displaying the Back Buffer
마침내 우리 삼각형이 framebuffer에 그려졌다. 마지막으로 우리가 다룰 것은 framebuffer를 스크린에 어떻게 보여줄건지이다. 잠시 double buffering의 컨셉에 대해서 소개한다.
framebuffer는 스크린에 보여지는 2차원 pixel data를 의미한다. 한가지 가능한 방법은 screen위에 이미지를 표현하는 한 가지 방법은 우리가 삼각형을 그렸던 것처럼 아주 간단히 frame buffer에 pixel data를 수정하는 것이다. 그러나, 가장 중요한 이슈는 화면에 보여지는 buffer위에 pixel data를 바로 수정해야하는 것이다. 즉, 일반적인 display system은 물리적인 화면이 고정된 비율의 frame buffer memory의해 수정되는 것이다. 만약, 우리가 이 frame buffer로 바로 그린다면, 사용자는 업데이트 되고 있는 일부의 깨진 부분이 보일 수도 있다.
이 문제를 해결하기 위해서, 우리는 double buffering이라는 시스템을 사용한다. Double buffering이란 front buffer, back buffer 두 개의 buffer가 있다는 의미이다. 모든 렌더링은 back buffer에 그려진다. Back buffer는 화면에 보이지 않는 메모리 구역이다. 모든 렌더링이 끝나면, back buffer는 front buffer(보이는 buffer)로 “swapped(바꿔침/copy와 다름 https://en.wikipedia.org/wiki/Multiple_buffering)” 되게 된다. Front buffer는 다음 프레임이 그려질 back buffer가 되게 된다.
이 시스템을 이용하면, 한 프레임의 렌더링이 완료될 때까지 surface를 화면에 보여주지 않아도 된다. 이 기술은 OpenGL ES에서 EGL을 통해 이용된다. 이 때 이용되는 함수는 eglSwapBuffers 이고 앱의 Draw 콜백이 호출된 이후에 이루어진다.
eglSwapBuffers(esContext->eglDisplay, esContext->eglSurface);이 함수는 EGL에게 front buffer와 back buffer를 swap하라고 말해준다. EGL display와 surface 파라미터는 물리적 display와 rendering surface를 의미한다. 다음 챕터에서 위 함수와 surface, context, buffer 관리에 대해서 자세히 알아본다.
이제 마침내 화면에 삼각형을 그릴 수 있게 되었다.
Summary
이 챕터에서는 간단한 OpenGL ES 3.0 프로그램을 작성해보았다. 이 몇 가지 키워드만 알면 앞으로도 GL 프로그램을 작성할 수 있다. EGL을 이용한 On-screen render surface 만들기, shader와 관련 object 생성, viewport 셋팅, color buffer 비우기, 가장 기본적인 도형 그리기.
반응형'Graphics > OpenGL ES 3.0' 카테고리의 다른 글
OpenGL ES 3.0 - in/out 한정자 (0) 2020.06.01